Stove Installation


Project Brief.
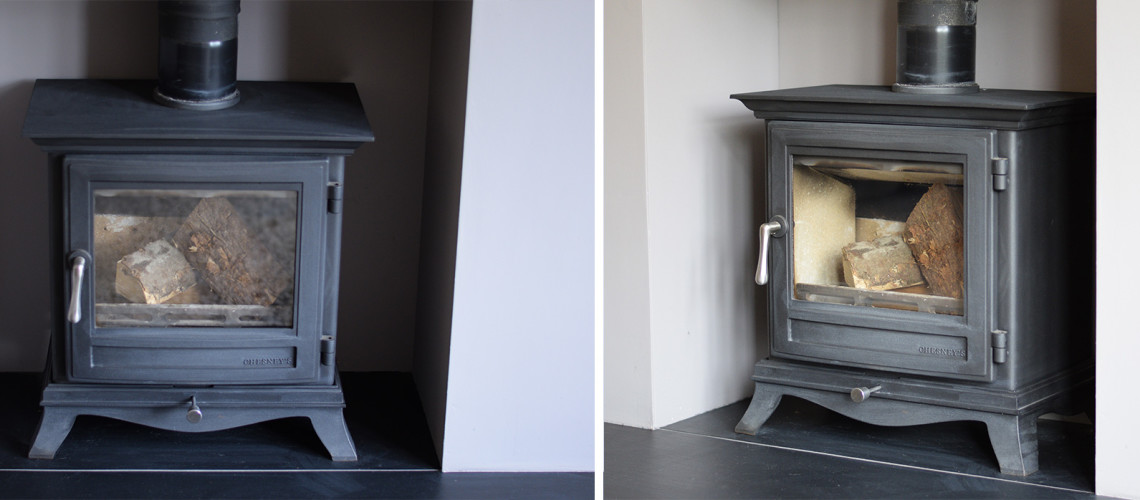
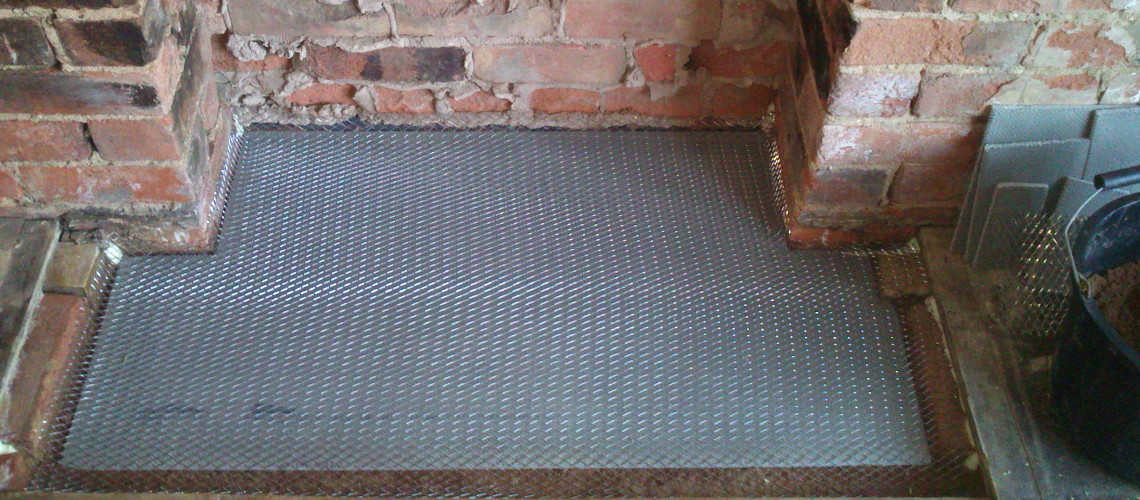
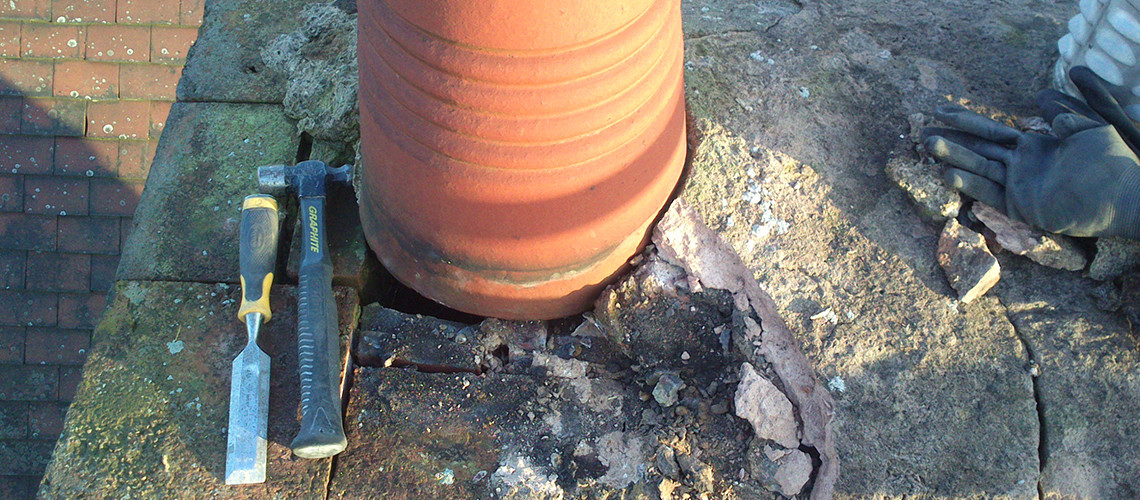
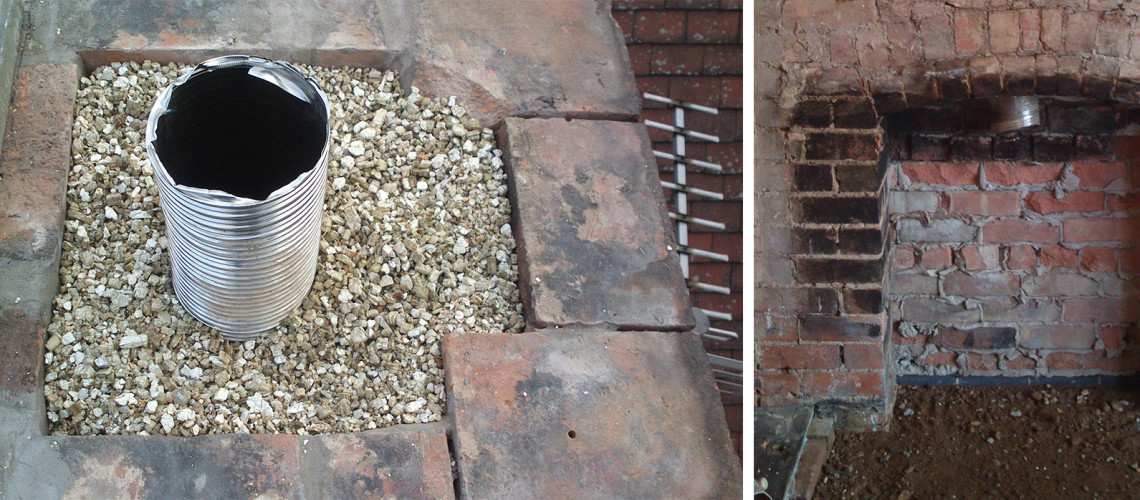
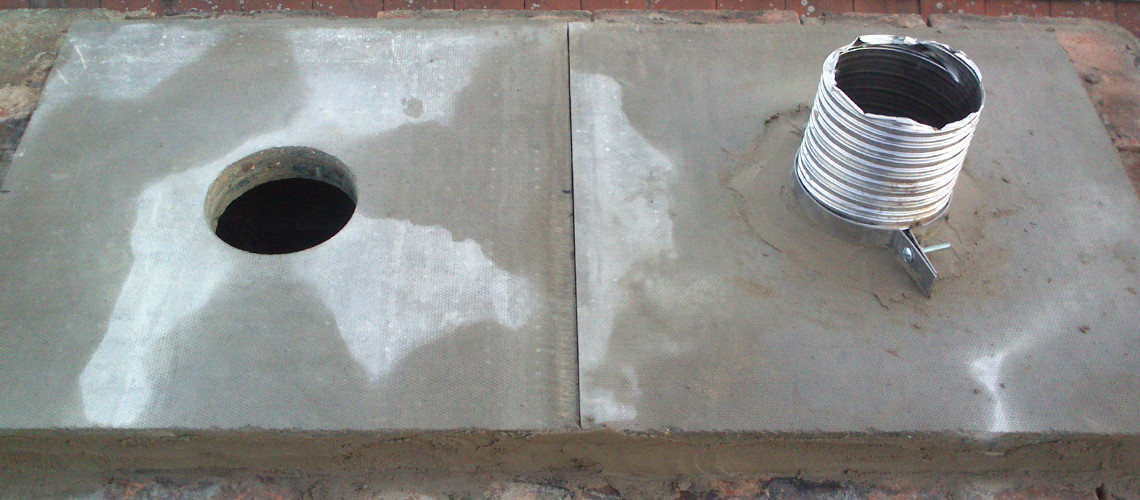
Installing a wood burning stove can be straight forward enough! This particular installation covered restoration work on the chimney stack and the design and build of a fireplace surround with raised hearth. In addition to this, all external walls were dry lined with thermaline plasterboard and repair work was carried out on perished cornice!